
Now that you have created your Default Report, below is the next step for setting up additional custom reports for your form.
REPORTS TAB
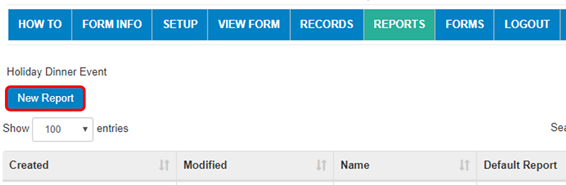
Use the NEW REPORT button to create additional reports. These reports will not show on your RECORDS tab like the default report, but can be exported to Excel. (note: only one default report should be created, see Create Default Report for instructions on creating the default report)
Steps to creating additional Reports:
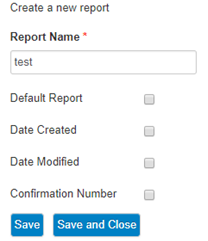
- Name your report
- Make sure DEFAULT REPORT check box is not selected
- SAVE AND CLOSE
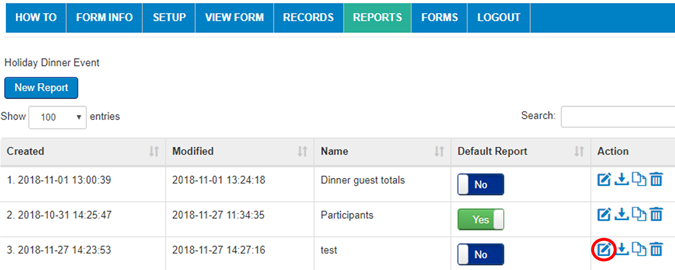
Then select the Edit Icon to the right of your new report (circled in red)
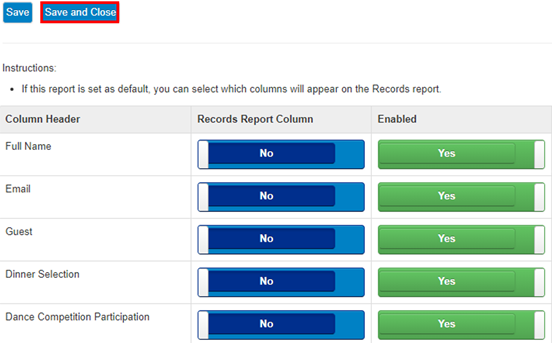
- Default Records Report Columns (below) will be NO and should remain NO because this report will not display in RECORDS tab
- Select YES in ENABLED COLUMN for the Column Headers you would like displayed in the excel report you export
- SAVE AND CLOSE
Now you can go back to the REPORTS tab and select the Export to Excel button circled in red below, this will download an excel document you can open and save.

Comments
0 comments
Article is closed for comments.