
Now that you have finalized your site to receive registrations, it is now time to create the reports to export and sort the data. These reports can be customized to any specification. Before creating the custom reports, it is good to create a default report that will export all data from all fields in your registration form. We will start with creating the Default Report:
Creating the Default Report:
1. Go to REPORTS tab
2. Click on NEW REPORT

3. Name the Report in the REPORT NAME field, this one we name "Default Report"
4. Make sure you check the box for DEFAULT REPORT
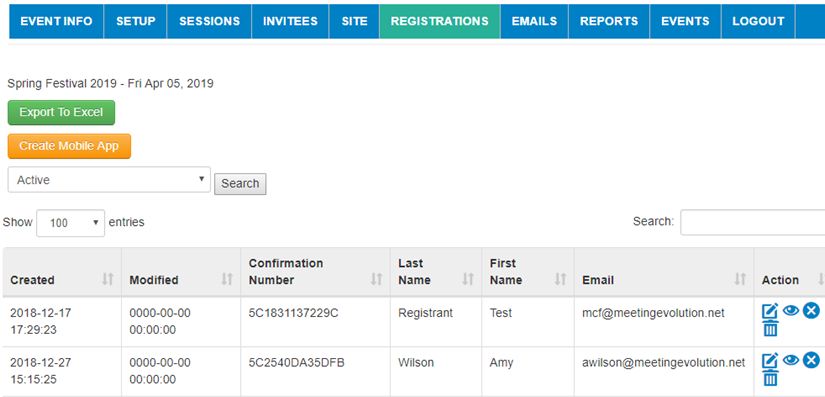
5. DATE CREATED, provides a column with the date a registrant submitted their registration and/or the date an invitee record was uploaded (if you are using the invitee feature in the system)
6. DATE MODIFIED, provides a column with the date a Registrant or Admin edited their registration record
7. CONFIRMATION NUMBER, provides a column with the Confirmation Number unique to each registrant that they can use to Edit their registration (if you are using the "Edit Registration" tab on your site)
8. Now click on SAVE
8. Now click on SAVE

Below you will see three columns:
1. Records Report Column - The fields enabled here will be what displays on your Registration tab view for Registrations. This is only used for the DEFAULT REPORT.

2. Enabled Column - This column is what is used for EVERY REPORT to enable what fields will export to your Excel document. Usually a default report keeps all fields enabled to be able to export all data.
3. Sort Order Column - This feature allows you to designate how you would like to sort the data. For example, if you want your data to be by alphabetical order of Last Name, you would use the drop down in the SORT ORDER column to a "1" to sort by Last Name first.

Once you have sorted and enabled all of your desired fields and your report is ready, be sure to SAVE AND CLOSE at the top of the page.
Now go to the REGISTRATIONS tab to see how your designated RECORDS REPORT COLUMN fields look on this tab, you will see the columns displayed based off of your choices in the default report:
Now in your REPORTS tab, you can see the DEFAULT REPORT you created. To download this report, use the download icon below circled in RED:

For Custom Reports, go to Creating Custom Reports
Comments
0 comments
Article is closed for comments.