
The Menu is the set of tabs displayed on your registration site to navigate to the pages within the site. Notice, the SITE tab allows you to view the Registration Site you are creating throughout the creation process.
SET UP TAB -> MENUS
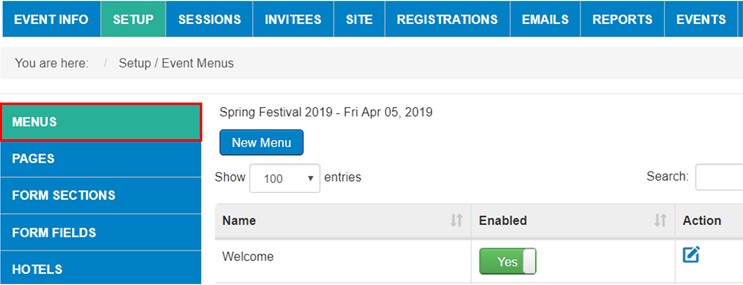
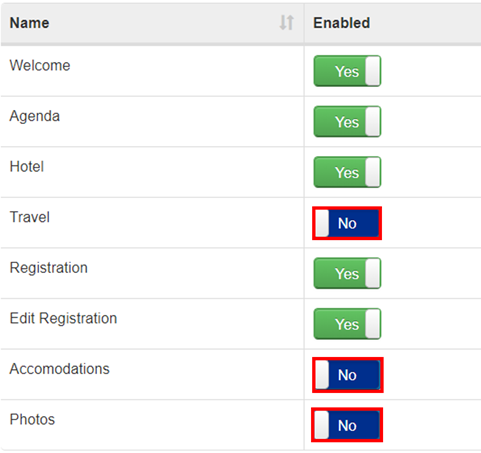
When you select MENUS, you have the ability to NAME and ENABLE each tab. As an example: For this site, we enabled all but TRAVEL, ACCOMMODATIONS and PHOTOS (shown in red below). You also have the ability to re-sort the order by clicking on a MENU item and dragging it to a new position:
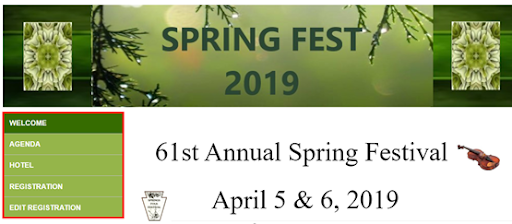
Each TAB designated as YES for enabled will show on example Registration Site Menu shown below:
Adding a Menu Item
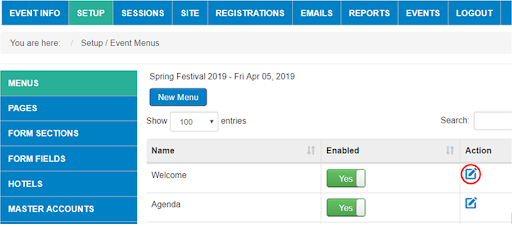
To add a menu item to your tabs on your registration site, you would select NEW MENU within the MENUS tab (shown in red)
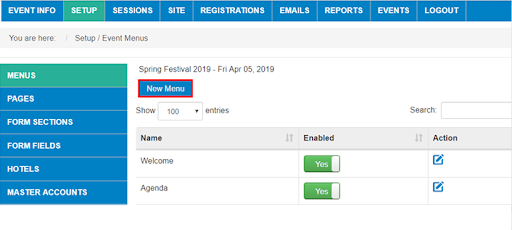
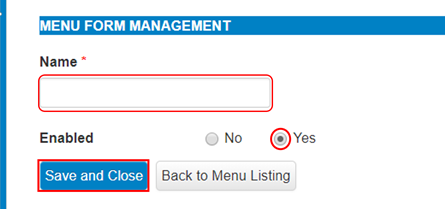
Once you select NEW MENU, you will be able to NAME and ENABLE this new tab in your Registration Site (NOTE-you will need to create a NEW PAGE on Pages tab for this Menu to show on the Site):
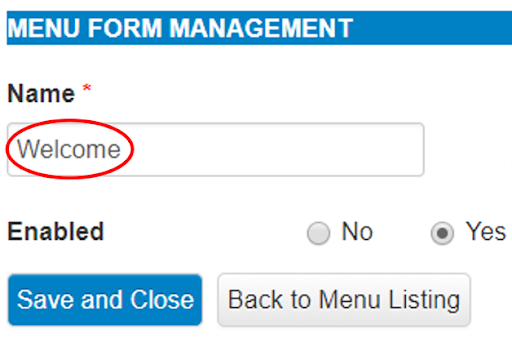
The above display will show when you select the below icon (circled in red) under Action column, which allows you to edit the NAME of your current tab in the Menu:
Let’s say I would like to change titling to General Information, then I would change field here from WELCOME to GENERAL INFORMATION and then select SAVE AND CLOSE:
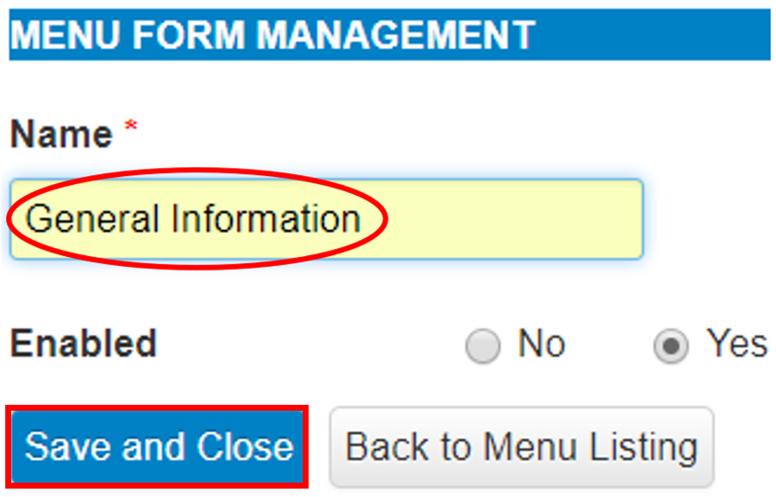
Now the “Welcome” Menu tab has been Changed to “GENERAL INFORMATION” on your site:

Once you have created all of your Menu Tabs, you can go on to the next step - Set-Up / Edit PAGES
Comments
0 comments
Article is closed for comments.