
This 4 Step article shows you step-by-step how to get sessions on your registration form and confirmation email.
STEP 1
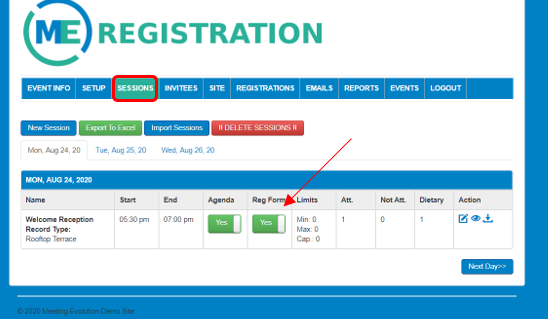
Create your sessions under the Sessions tab. Use the Reg Form toggle button Yes/No to select "Yes" to the Reg Form. Please note, sessions needs turned on under Event Info before the tab will be visible.
STEP 2
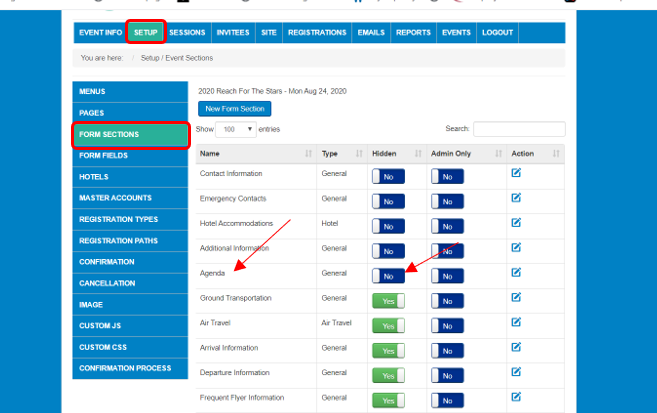
Add a section to your reg form for sessions. You can call it whatever you want. In the below example it is called "Agenda". Be sure this section is not hidden by having the toggle for Hidden set to "No".
STEP 3
Click on Form Fields to add the sessions to your new section.
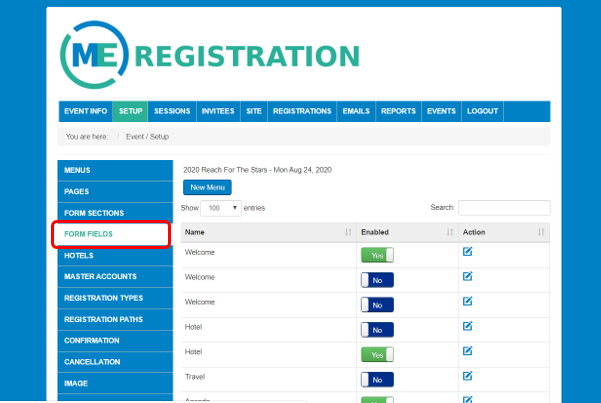
Grab one of the Extra Fields and hit the edit icon to the right of the field.

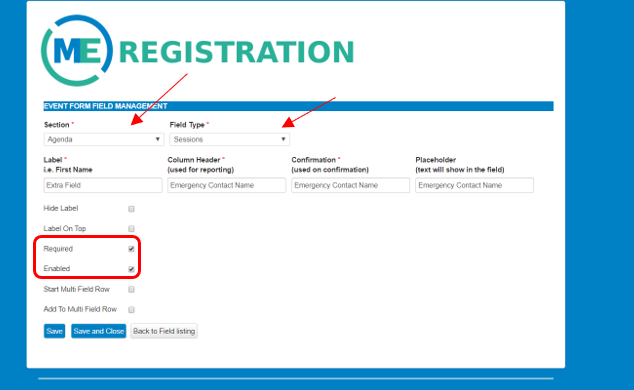
Change the section dropdown value to the Sessions section you created. Select Sessions under the field type drop down. Be sure the field is required and enabled. Save and Close.
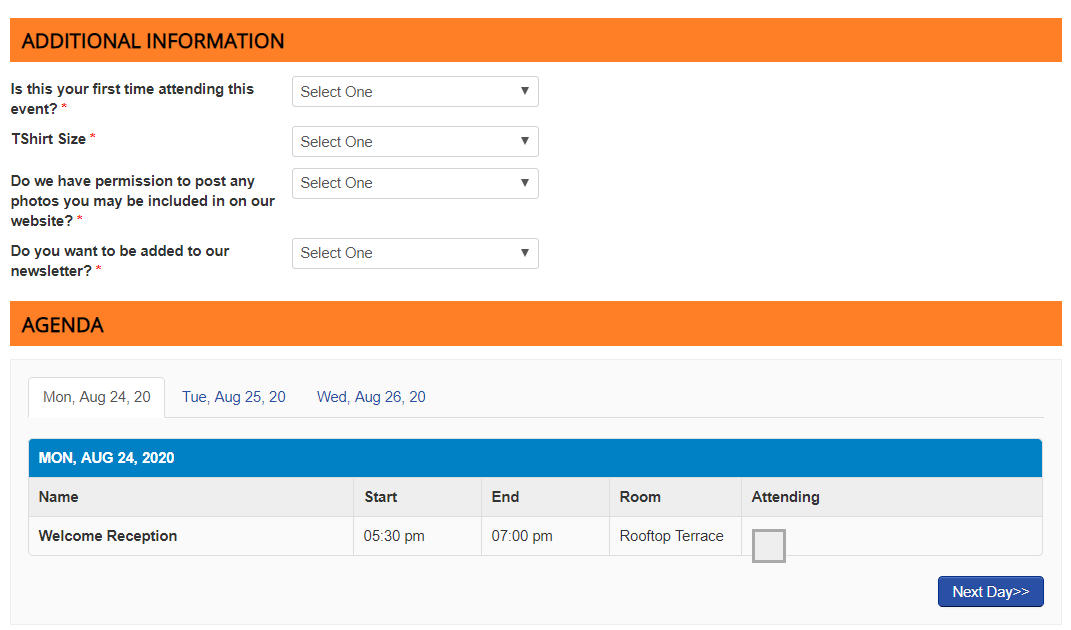
Your sessions will now show up on the registration form for registrants to select as part of the registration process.
STEP 4
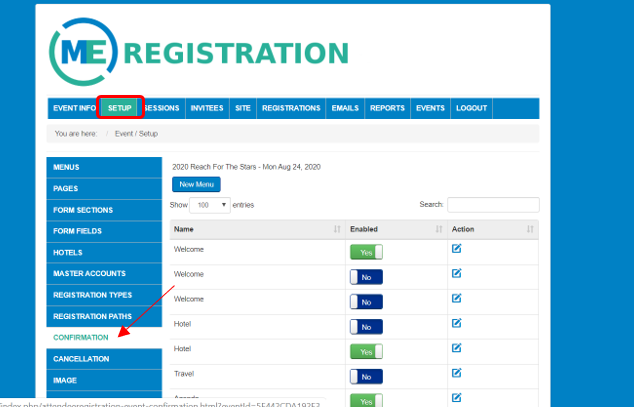
To add the sessions selected to the confirmation email, click on Setup-Confirmation.
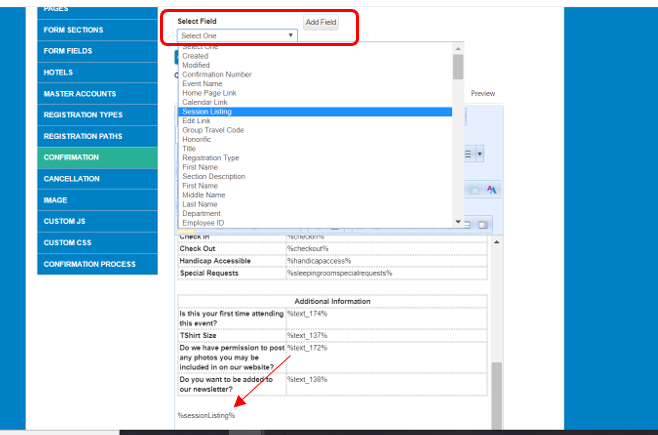
Place your cursor on the area of the email that you would like to add the session listing to. In the Select Field dropdown, select Session Listing and hit "Add Field". This will drop your sessions onto the email. Be sure to save your changes at the bottom of the form.
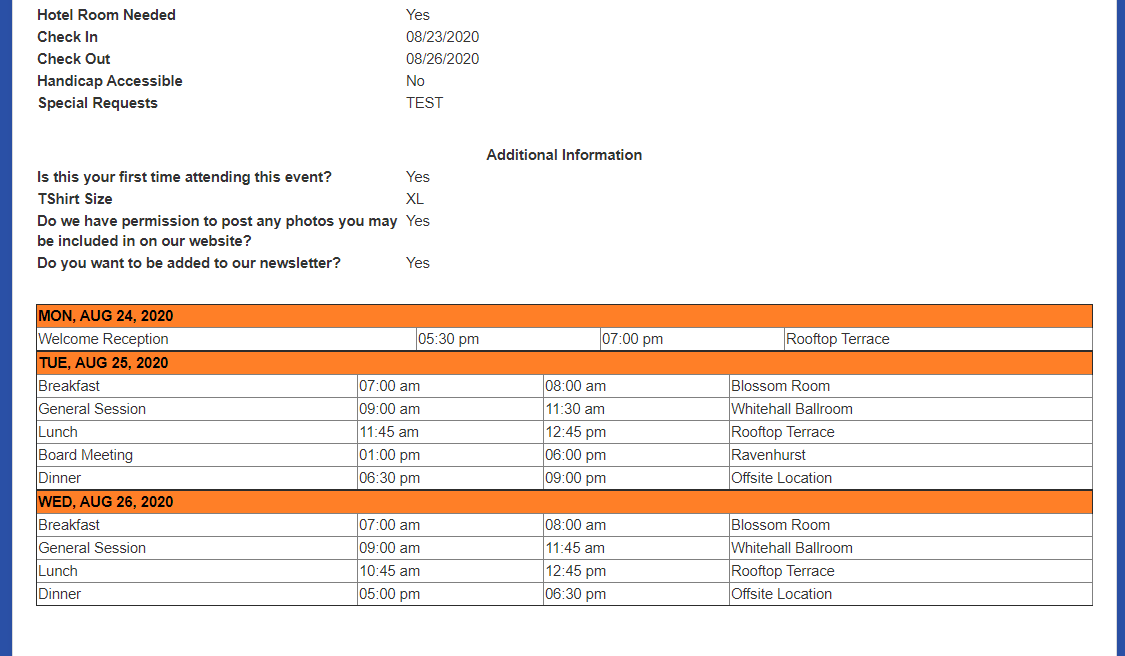
This will make the sessions visible o the confirmation form and emails that registrants receive.
Comments
0 comments
Article is closed for comments.