
This article covers the following topics.
Entering Sessions
Importing Sessions
Editing Sessions
Exporting Sessions
Deleting Sessions
Entering Sessions
To enter sessions to your event, click on the sessions tab. You have two options with sessions, you can enter each session or you can import your sessions. Both options are documented below as well as editing existing, deleting and exporting.

Click on New Session.
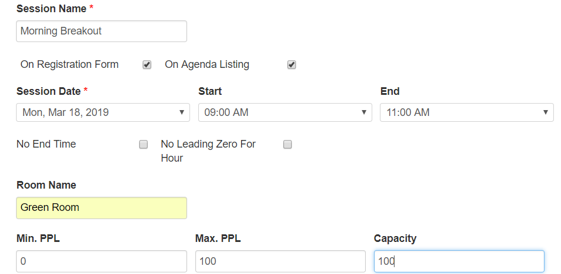
Session Name- Enter the name of your session.
On Registration Form- When this box is checked, the session will be listed on the registration form for someone to indicate their attendance.
On Agenda Listing- Check the box to have the session listed on the Agenda tab of your registration site.
Session Date- Select the date of the session from the drop down.
Start & End time- Select your times.
No End Time- If your session has no end time, leave the End time blank and select this field.
No Leading Zero For Hour- For display purposes, check this box if you would like the time to display 9:00AM vs 09:00AM if it's unchecked.
Room Name- Enter the name of the room the session will take place in.
Min., Max. and Capacity- If applicable, enter the minimum people, maximum people and capacity for this session.
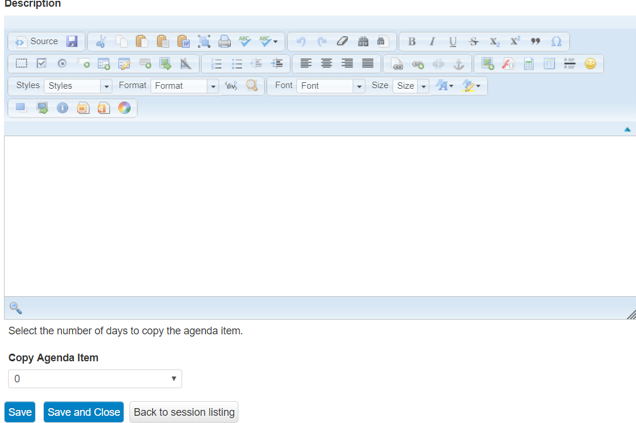
Description- You can enter additional information about your session in the description field that will display on the Agenda and/or Registration form.
Copy Agenda Item- If this session is going to span across multiple days at your event, you can copy it to save yourself time.
When finished enter the session, you will hit Save to enter another, Save and Close to save and return to form or Back to session listing to discard your changes.
Importing Sessions
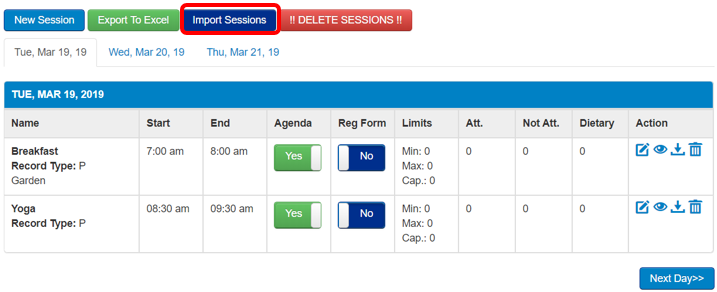
To import sessions, click on the Import Sessions Button.
Importing can be tricky, so the system provides a template for you to follow to put your information in the proper order and format. Click on the Download Import Template button.
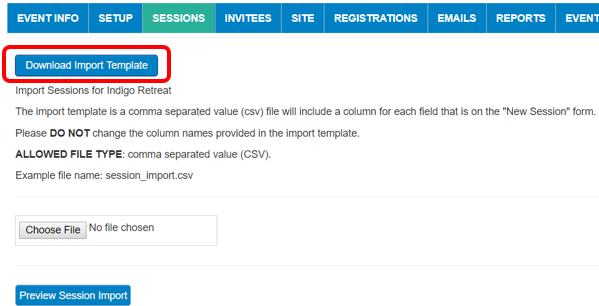
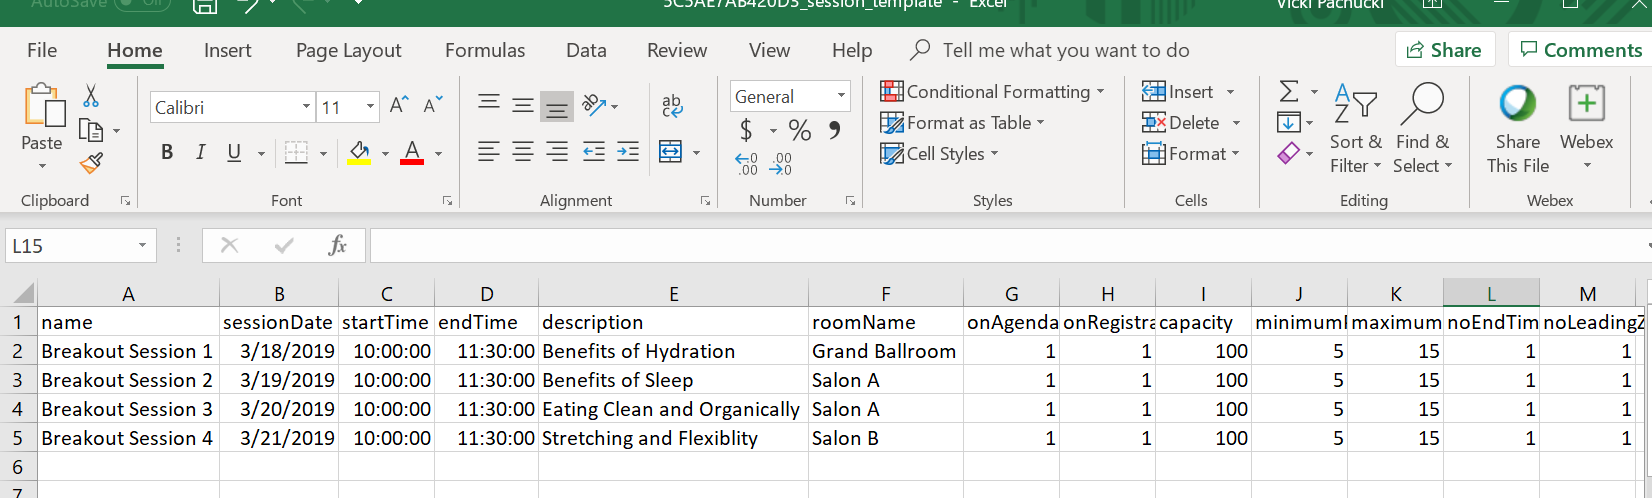
The template will give you example data for your import. Simply fill in or copy in your information. Do not change row 1 as it has the database field names needed to successfully import your data.
Helpful tips:
1. The sessionDate must be in mm/dd/yyyy format.
2. startTime/endTime follows military time. Ie. 10:00, 17:00
3. For onAgenda, onRegistration, noEndTime, noLeadingZeroForHour a 1 will mean the field is checked, a 0 will mean it is unchecked.
When your template is ready to import, click on the Choose File button to browse for it. Then select the Preview Import button.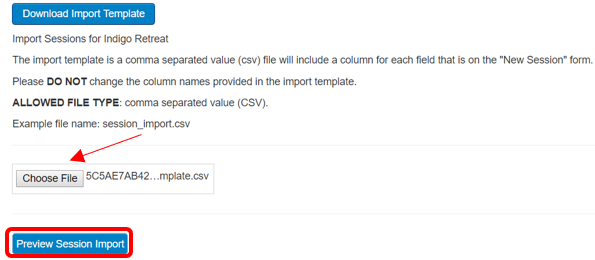
The screen will show you a summary of what you are going to import. If there are any issues with the data, this screen will also show you that.
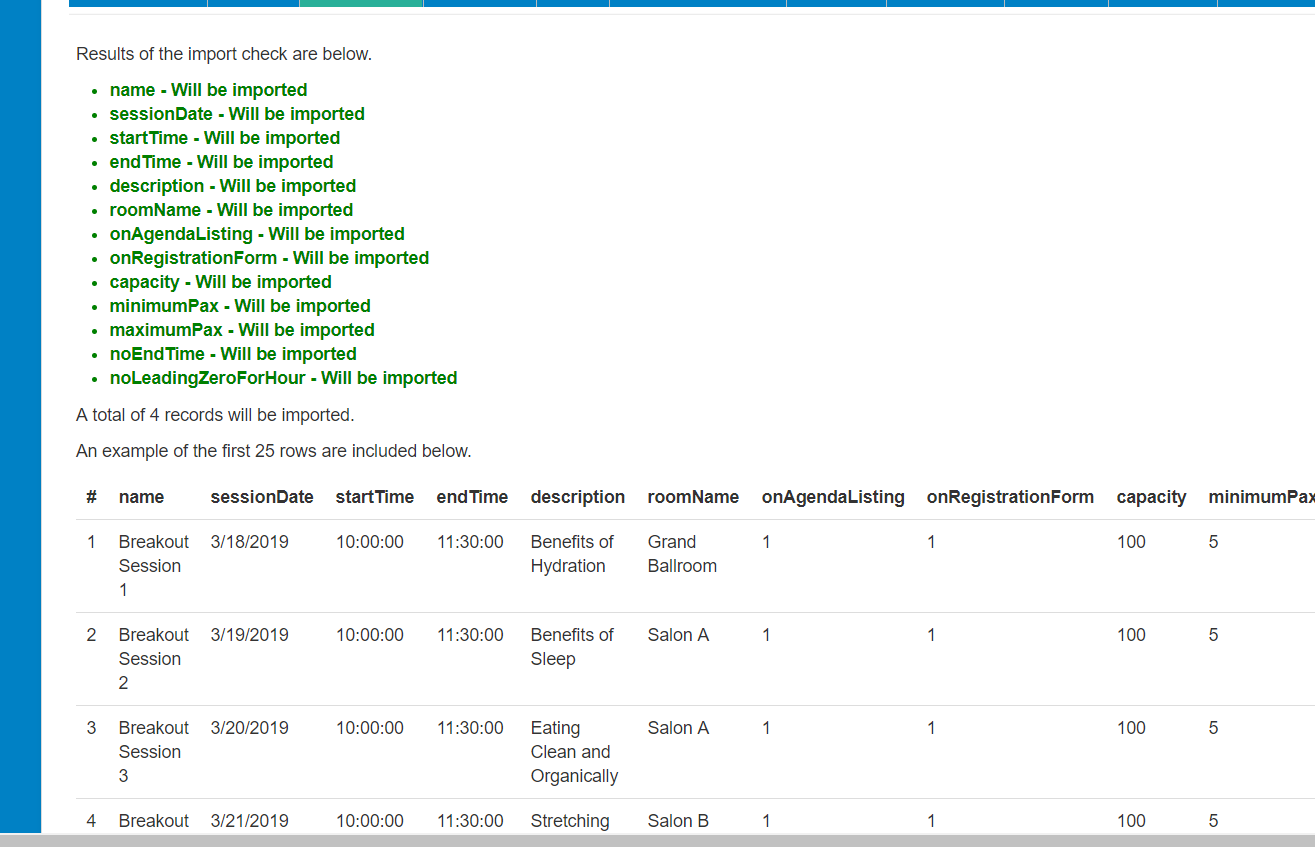
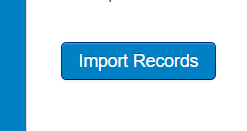
When ready, click the Import Records button at the bottom of the screen. A summary screen will appear after the records have been successfully added.
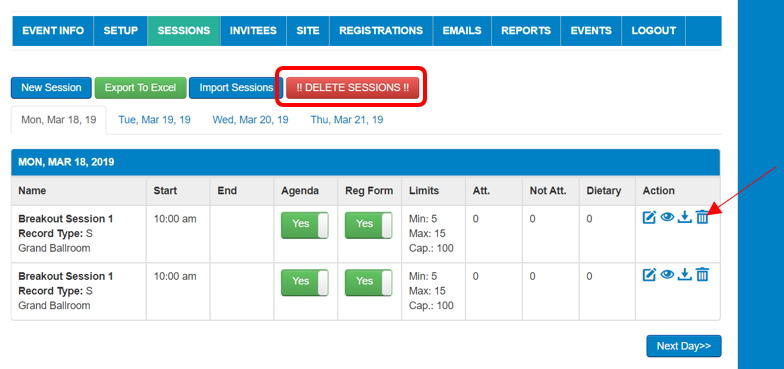
To change existing sessions, simply locate the session you need to edit and click the Edit icon on the right side.

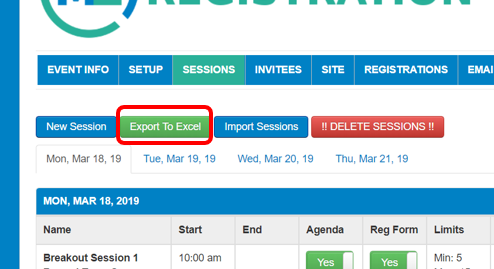
The system allows you to export all your sessions into an Excel format. Simply click the Export to Excel button on the top of the screen.
You can delete sessions individually or all at once. To delete individual sessions, locate the session and hit the Trash icon on the right side. To delete all sessions, hit the !! DELETE SESSIONS !! button at the top of the screen.
Comments
0 comments
Article is closed for comments.