
The registration confirmation can include an attachment for the attendees to download.
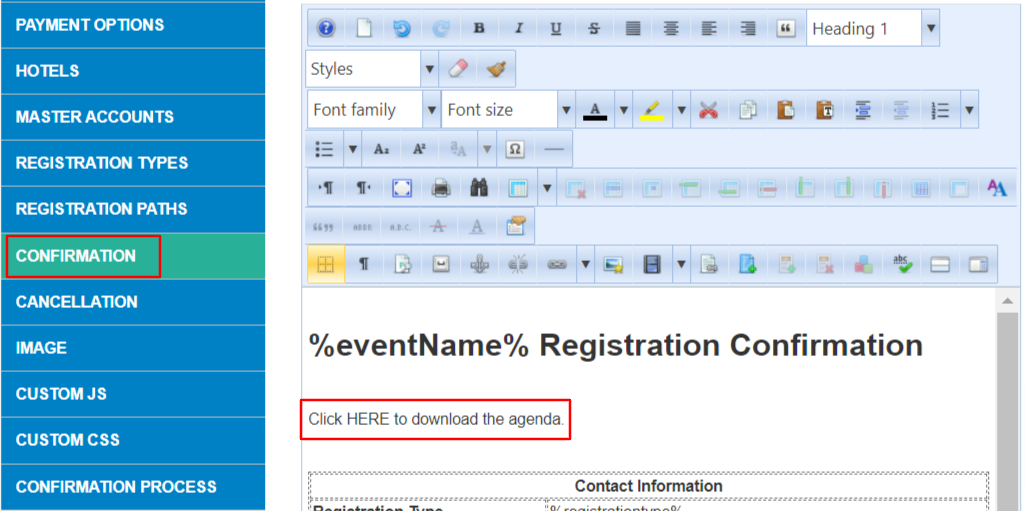
STEP 1: In the Set Up Menu, select Confirmation.
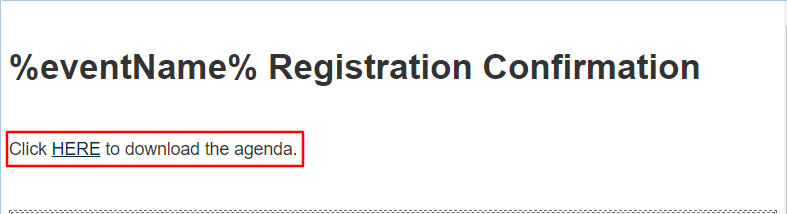
Add the instructions for downloading the attachment to the email text.
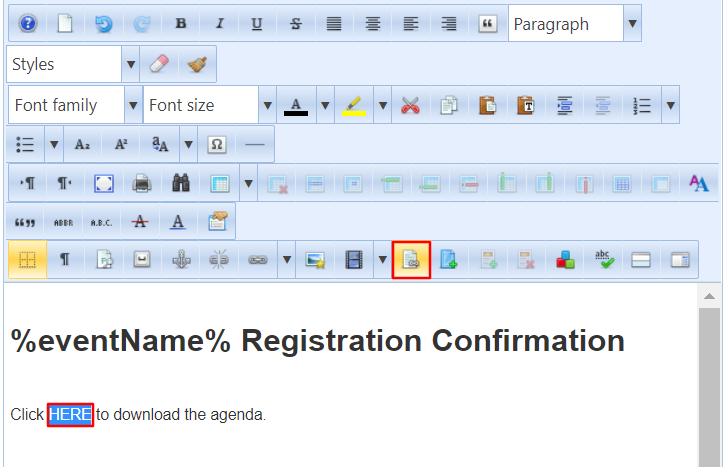
STEP 2: Highlight the text to be linked to the document and select the Insert File icon in the editor.
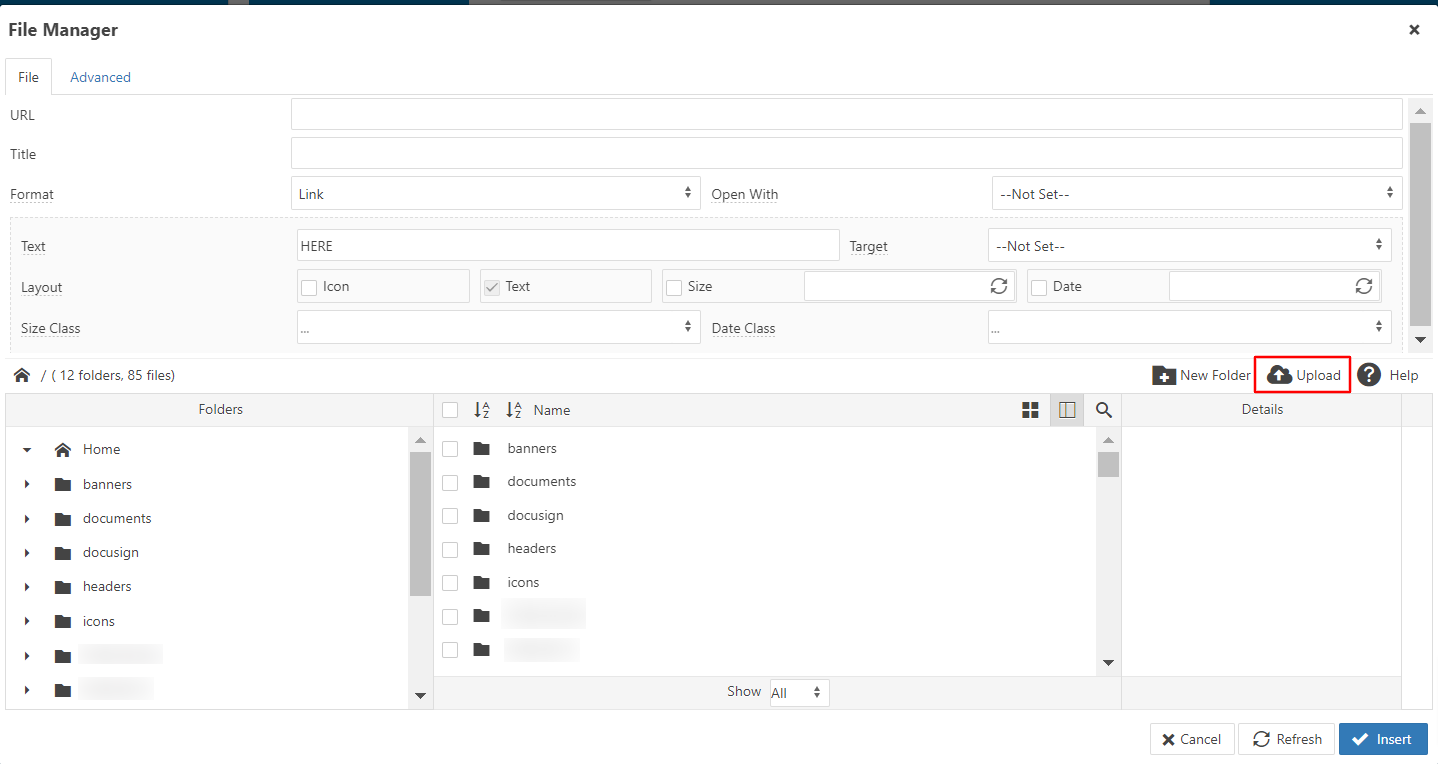
STEP 3: The File Manager screen will appear. Select Upload.
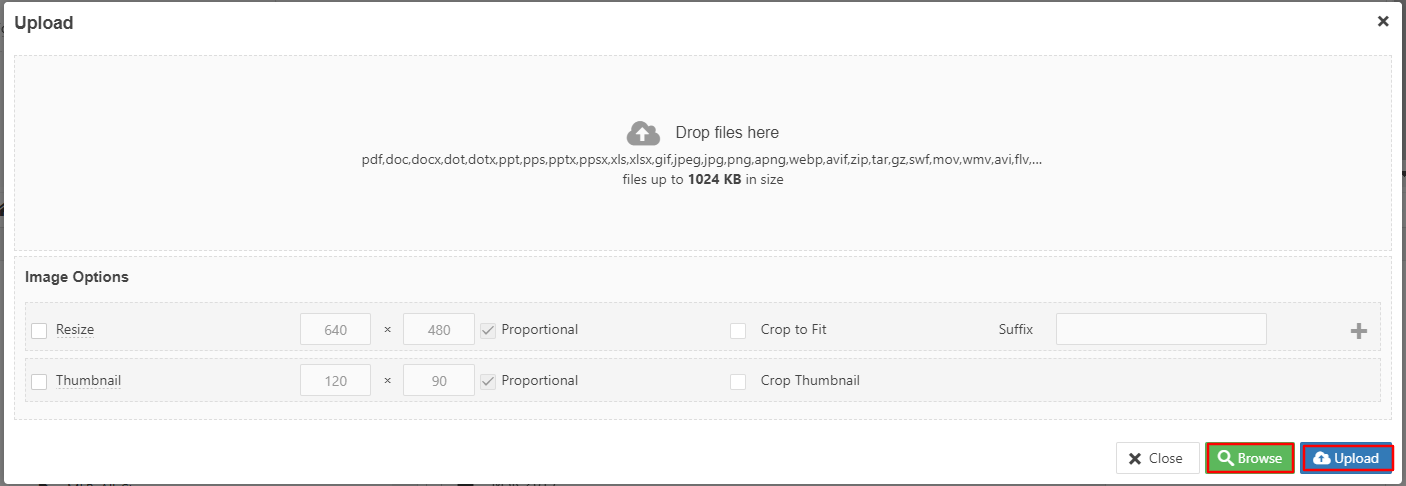
STEP 4: Select Browse to locate a file from your computer, then select Upload to add the file.
Note that the file size is limited to 1024 KB.
Accepted file types include pdf, doc, docx, dotx, ppt, pps, ppsx, xls, xlsx, gif, jpeg, jpg, png, apeg, webp, avif, zip, tar, and gw.
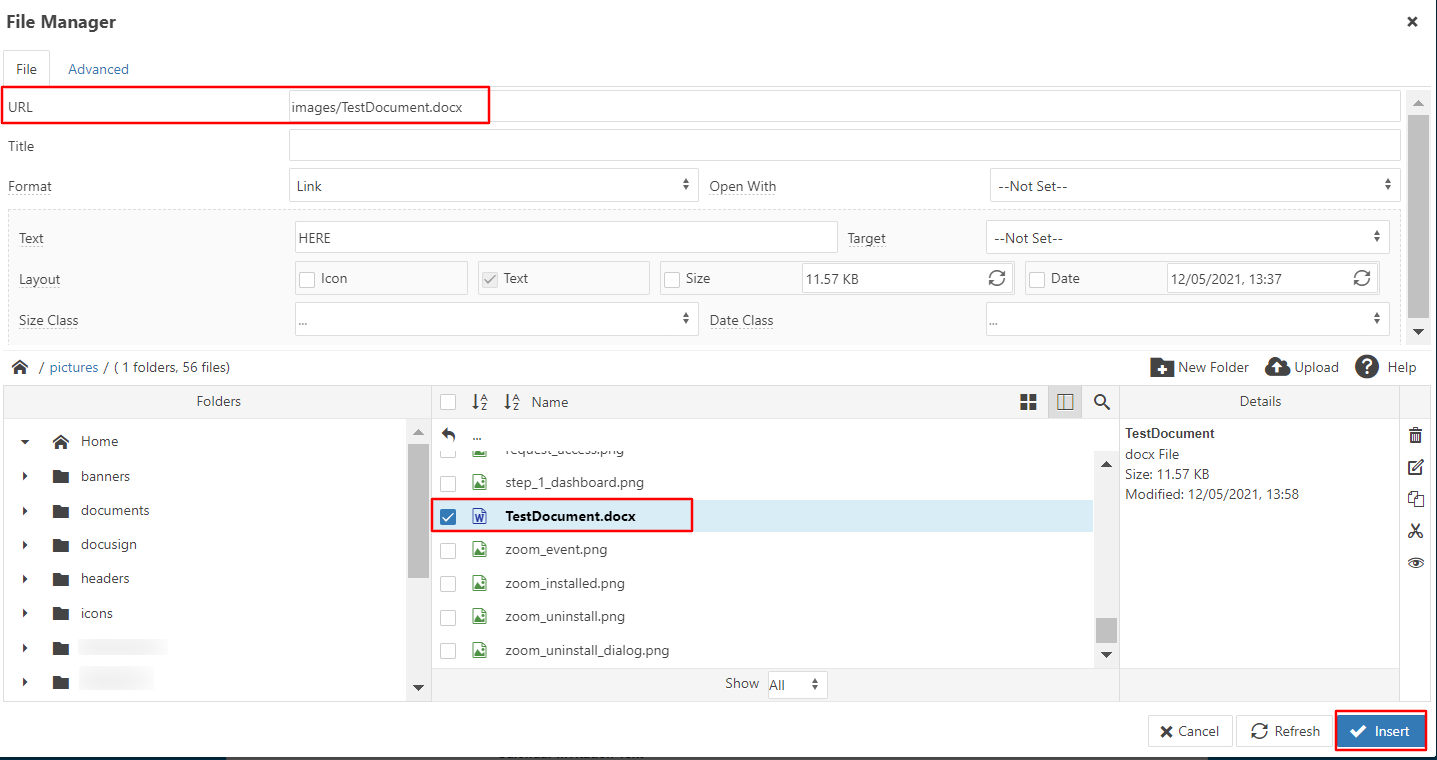
STEP 5: The editor needs the URL of the saved document to INSERT it.
You need to click on the BOLDED NAME of your DOCUMENT FILE so that it fills in the URL field indicated by the red box at the top of the File Manager. When that URL field is filled in, click on INSERT.
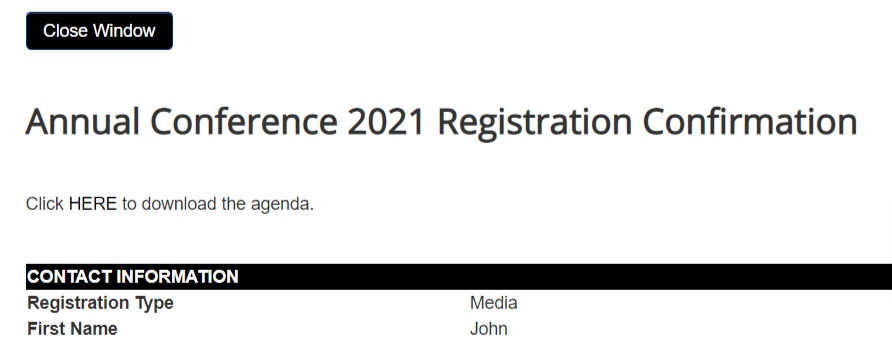
STEP 6: The confirmation text will include the link for downloading the attachment.
Be sure to SAVE changes at the bottom of the confirmation page.
You can preview and test the downloaded document by Viewing a registration record.
Refer to Create Confirmation Email for further instructions.
Comments
0 comments
Article is closed for comments.